Download OP Auto Clicker
Download the official op auto clicker tool that lets you automate mouse clicks. Compatible with Windows 7, 8, 10, 11 and all 64-bit systems. Download the latest version now!
Minimum System Requiremnets
Windows:
- Operating System: Windows Vista, 7, 8, 10, 11
- Memory: 50MB RAM
- Disk Space: 10 MB of free space.
Mac:
- Operating System: macOS 10.10 (Yosemite) or later.
- Processor: Intel-based processor.
- RAM: 512 MB or more.
- Disk Space: 10 MB of free space.
Download & Install Procedure for Windows
1. Download:
- Go to the our OP Auto Clicker website.
- Look for the download link specific to Windows.
- Click on the download link to save the setup file (usually a .exe file) to your computer.
2. Install:
- Once the download completes, locate the downloaded file (typically in your Downloads folder) and double-click it.
- Follow the on-screen instructions in the installation wizard.
- Choose your preferred installation settings (such as installation location) if prompted.
- Complete the installation process by clicking “Finish” or “Install.”
3. Run:
- After installation, you can usually find software in your Start Menu or desktop.
- Double-click the OPAutoClicker icon to launch the application.
Steps of using OP Auto Clicker on Windows
1. Launch OP Auto Clicker:
- Double-click the OPAutoClicker icon on your windows desktop or from the Start Menu to open the application.
2. Set Click Points:
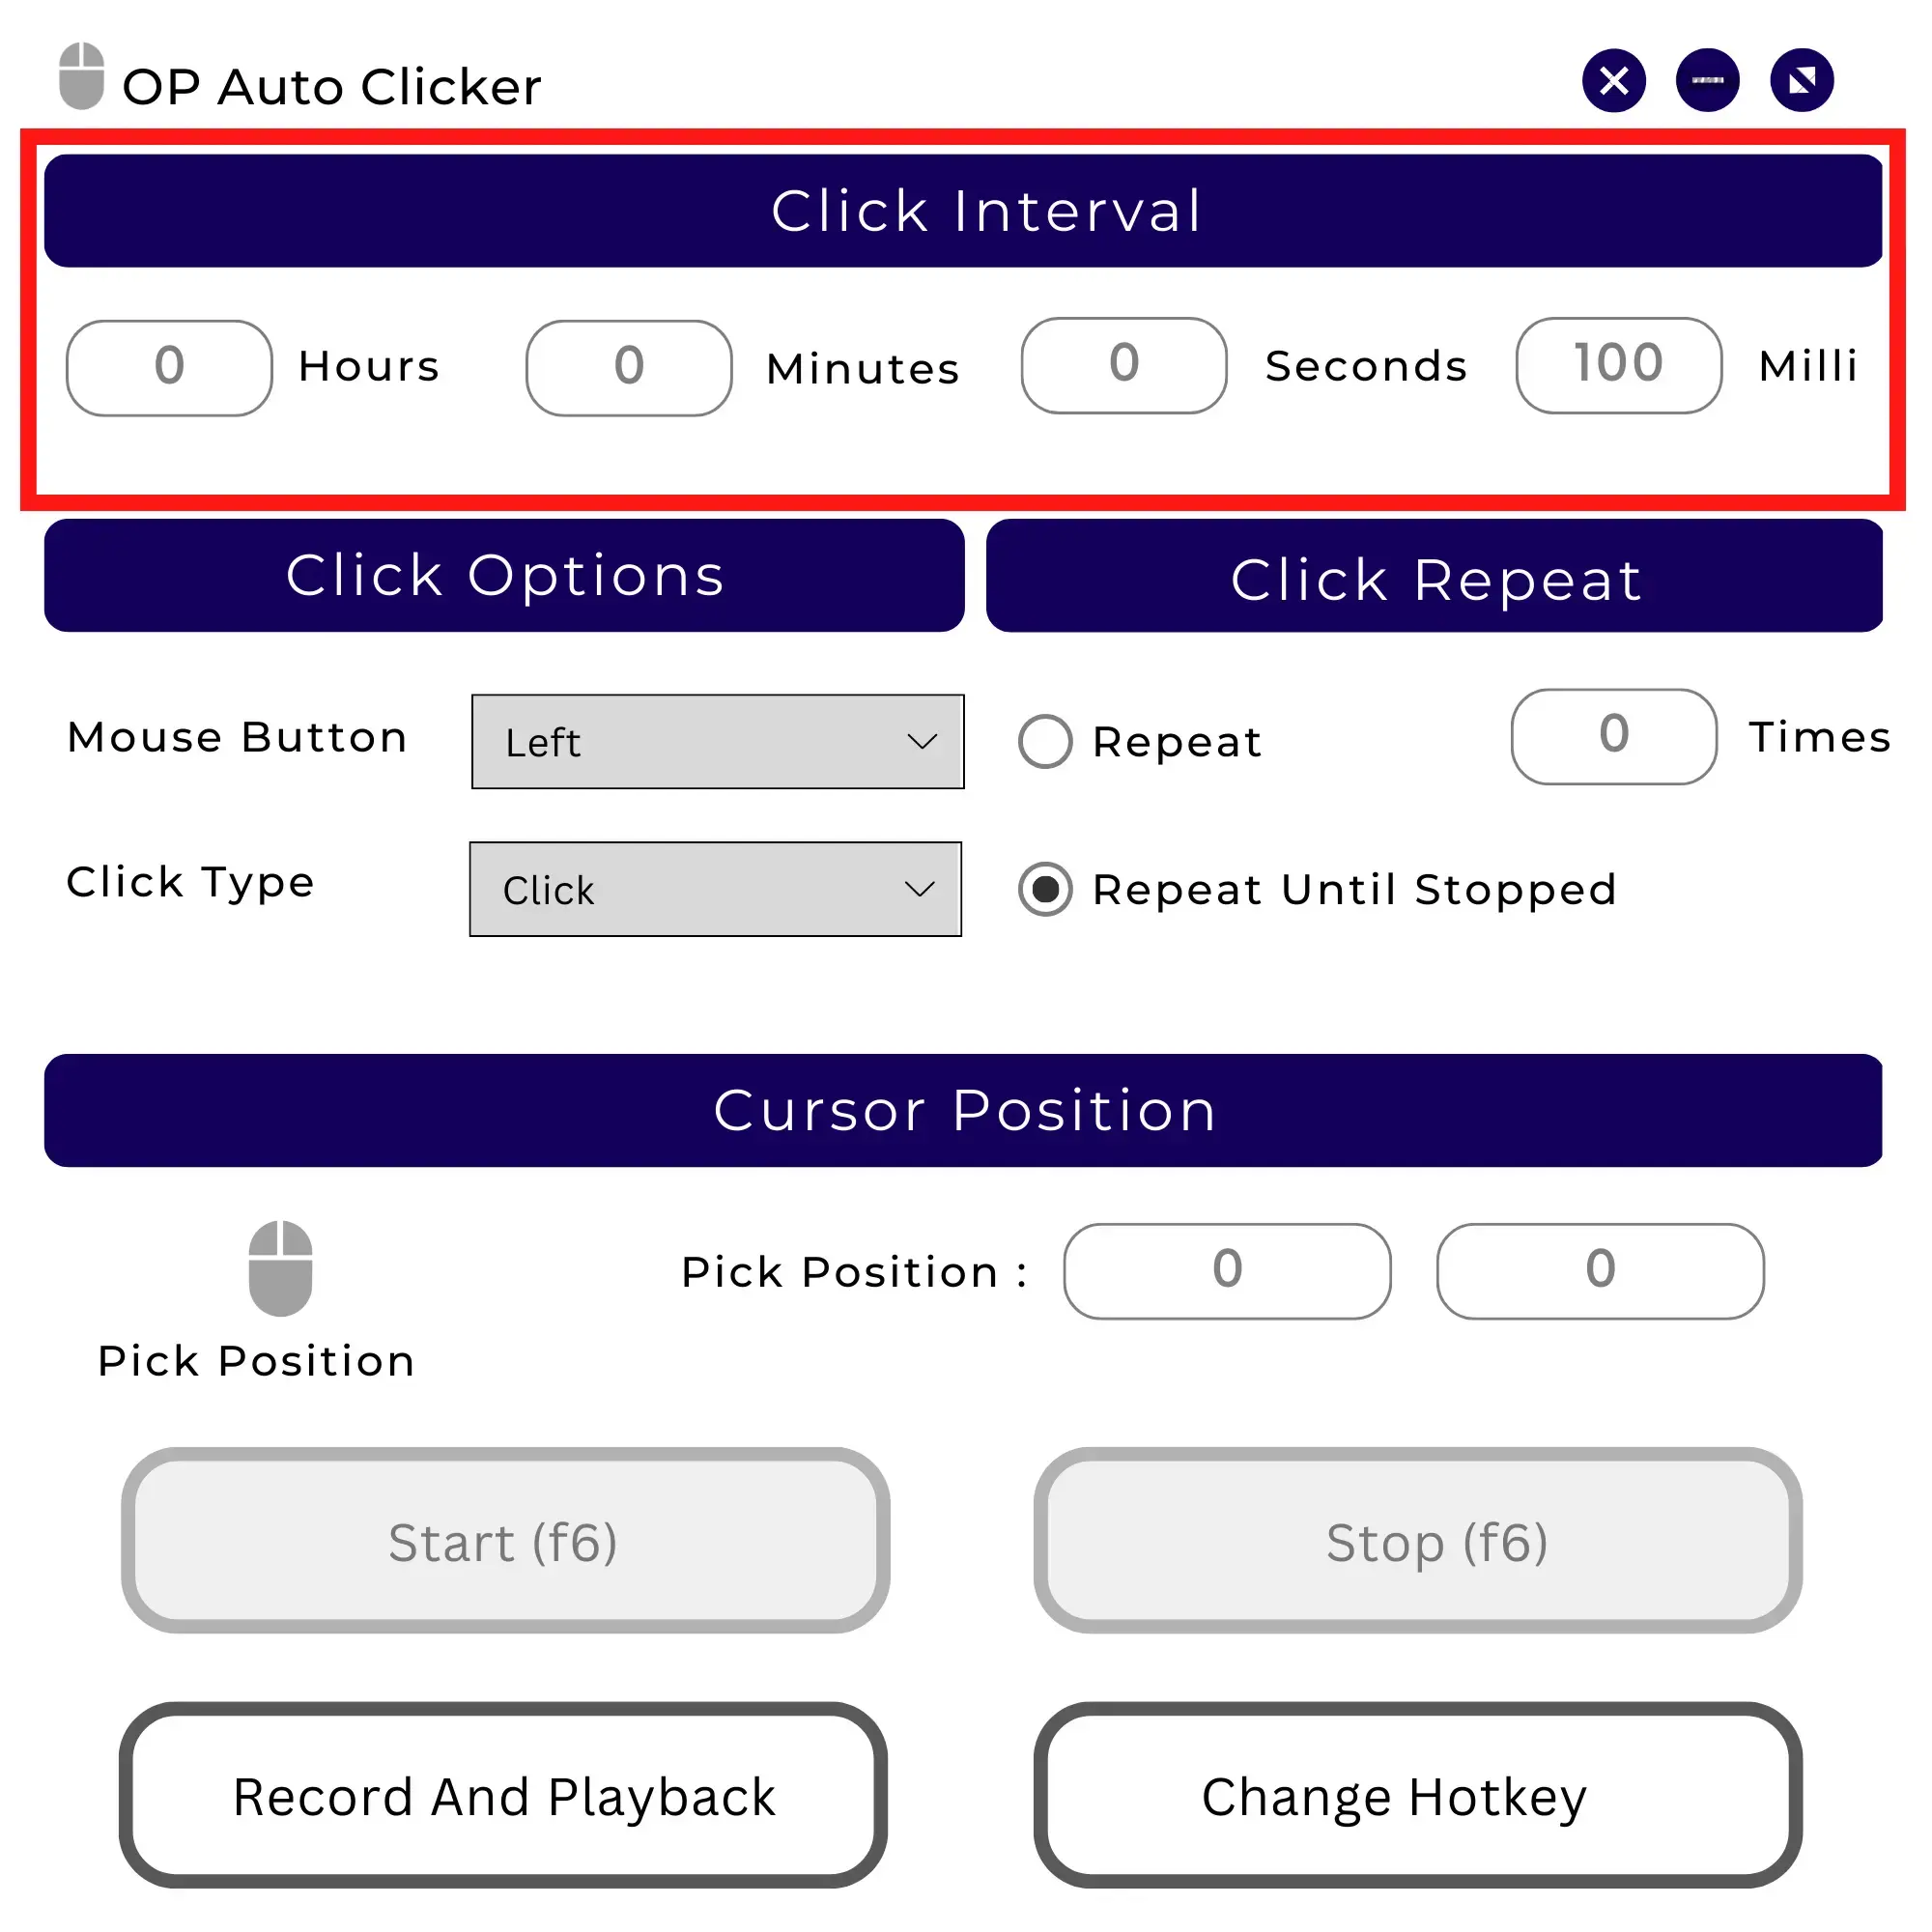
- You’ll typically see options to set click points in the OPAutoClicker window. You can define where on the screen you want the clicks to occur.
- Specify the interval between clicks, whether a single or a series of clicks, and any other parameters based on your needs.
3. Start Clicking:
- Once settings are configured, click on the “Start” button or a similar option within the application to start auto-clicking.
- To stop, click the “Stop” button or close the Auto Clicker window.
Download & Install Procedure for Mac
1. Download:
- Visit the official OP Auto Clicker website.
- Look for the download link specific to macOS.
- Click on the download link to download the .dmg file.
2. Install:
- Once the download completes, locate the downloaded file (typically in your
- Downloads folder) and double-click it.
- Follow the on-screen instructions in the installation wizard.
- Choose your preferred installation settings (such as installation location) if prompted.
- Complete the installation process by clicking “Finish” or “Install.”
3. Run:
- After installation, you can usually find software in your Start Menu or desktop.
- Double-click the OPAutoClicker icon to launch the application.
Steps of using OP Auto Clicker on Mac
1. Open OP Auto Clicker:
- Locate OP Auto Clicker in your Applications folder and double-click it to launch the application.
2. Configure Click Settings:
- Like Windows, set up your click points, interval, and other parameters in the OPAutoClicker interface.
3. Start Clicking:
- Click the “Start” button, which is equivalent to auto-clicking based on your configured settings.
- Use the “Stop” button within the OP Auto Clicker interface to stop.

